Creating a custom dress form is an exciting and practical project for any sewing enthusiast. Understanding how to make a custom dress form can significantly enhance your sewing experience. With a tailored form, you'll achieve better fit and accuracy in your garments.
This guide offers you ten essential tips to create a custom dress form that meets your specific needs. Many may find this task daunting, but it’s quite manageable with the right approach. Use materials that are easily accessible, such as tape and foam. These items will help you craft a form that truly represents your unique measurements and body shape.
Reflecting on your progress is crucial. You might not achieve perfection in your first attempt, and that's okay. Each effort brings you closer to your ideal form. Embrace the learning process and welcome any mistakes as opportunities to refine your skills. In the end, creating a custom dress form can be a rewarding experience, deepening your connection with your sewing projects.
Choosing the Right Materials for Your Custom Dress Form
When creating a custom dress form, choosing the right materials is crucial. The type of fabric you select can greatly impact the durability and accuracy of your dress form. Ideally, look for sturdy materials like cotton or muslin. These fabrics are breathable and easy to work with, making them excellent choices for creating a custom fit.
Foam or batting can be used for padding the form. This adds shape and gives a realistic feel. When layering the padding, consider the areas that need more volume or detail. Failing to account for body shape can result in an inaccurate form that doesn’t represent your measurements. If you rush this step, the final product may not match your body proportions.
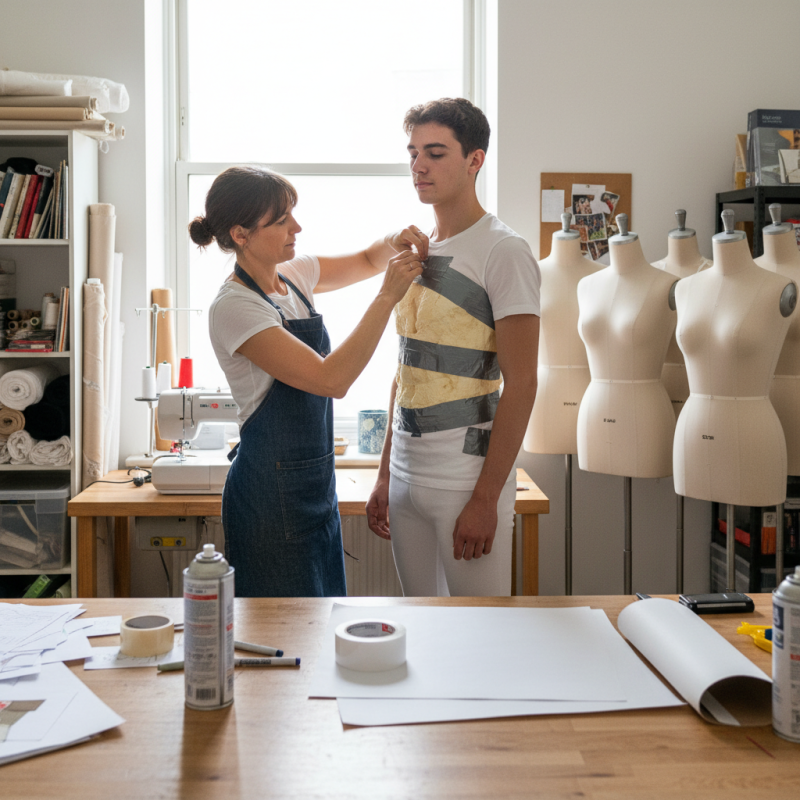
Tape is also an effective material for shaping your dress form. Duct tape or sports tape can be wrapped around a mannequin or directly on yourself. This method creates a form that closely mimics your body’s curves. However, it’s important to be comfortable and not to restrict movement while doing this. Frustration may arise if the tape doesn’t adhere well or if the form feels too rigid. Always allow for adjustments, as the fitting process may need several tries to achieve perfection.
10 Best Tips on How to Make a Custom Dress Form - Choosing the Right Materials for Your Custom Dress Form
| Material Type |
Pros |
Cons |
Best Uses |
| Muslin |
Easy to work with, inexpensive |
Can tear easily, limited durability |
Basic dress forms, toiles |
| Cardboard |
Sturdy, customizable shape |
May not provide realistic drape |
Prototype fitting, structural models |
| Foam |
Soft, good for draping |
Can lose shape over time |
Draping, custom fittings |
| Polyester |
Durable, maintains shape |
Can be too rigid |
Permanent dress forms |
| Duct Tape |
Perfectly matches body shape |
Can be heavy, not breathable |
Custom-fitted forms |
Measuring Your Body Accurately for a Perfect Fit
Accurate body measurements are crucial for creating a custom dress form. Whether you're a seasoned tailor or a beginner, precision impacts fit. Research shows that 70% of home tailors rely on accurate measurements to enhance garment quality. Start by gathering a flexible measuring tape. This will help you navigate around curves and angles.
When measuring, focus on specific points: bust, waist, and hips. These areas define your unique shape. Take multiple measurements and average them for accuracy. A study published in the Journal of Fashion Technology highlights that even a slight deviation of just one inch can alter the final fit. Thus, patience in this process is essential.
Don’t overlook the importance of posture during measuring. Standing straight can significantly change measurements. Many people forget this, leading to discrepancies in final designs. Another common mistake is not taking into account body variations, like weight fluctuations. The body may not always present an ideal silhouette, but acknowledging these nuances creates a more realistic dress form.
Body Measurement Data for Custom Dress Form
Step-by-Step Guide to Assembling Your Dress Form
Creating a custom dress form can significantly enhance your sewing projects. This guide outlines the process, ensuring your dress form meets your unique dimensions. Start by gathering materials: fabric, tape, and stuffing. Accurately measuring your body is crucial. Use soft measuring tape for the best results. It’s okay if you don’t get it perfect on the first try; adjustments can always be made.
Once you have your measurements, begin assembling your dress form. Wrap the fabric tightly around your body or a mannequin, securing it with tape. Make sure the fabric fits snugly but is not overly tight. This stage can be frustrating if it doesn’t look quite right initially; remember, it reflects your individuality. Stuffing the form evenly will help achieve the desired shape.
Tip: Consider using muslin as your primary fabric. It’s inexpensive and easy to work with. Don’t rush the stuffing process; it’s vital for achieving the right contours. As you work, take breaks and assess your progress. It’s essential to step back and reflect on your work to ensure it aligns with your vision. Happy assembling!
Techniques to Cover Your Dress Form with Fabric
Creating a custom dress form can greatly enhance your sewing skills. When it comes to covering your dress form with fabric, several techniques can help achieve a professional finish. Start by choosing a stable base fabric. It should be durable yet flexible. Many users prefer cotton, as it allows for easy stretching and molding around curves.
Cut the fabric into manageable pieces. This makes it easier to handle during the application. Use pins to temporarily secure the fabric to your dress form. This step is crucial. It allows you to visualize the fit before making any permanent adjustments. While pinning, stay patient. It's common to reposition the fabric multiple times until it lays correctly.
After the initial pinning, consider using a spray adhesive for a more permanent hold. Be cautious with the amount; too much can create unwanted stiffness. Once you're satisfied with the placement, finish the edges. A clean edge enhances the overall look of your form. Remember, crafting a perfect dress form takes practice. Don’t worry if it doesn't look flawless right away; imperfections are part of the learning process. Over time, each attempt will lead to better results.
Customization Tips for Adjusting Shape and Size of Your Form
Creating a custom dress form can be a rewarding process. It requires attention to detail to adjust the shape and size effectively. One method is to take accurate measurements of your own body.
Use a measuring tape to record bust, waist, and hip sizes. Also, note the distances between your shoulder and waist, and between your waist and hip. These measurements serve as a guideline.
When assembling your dress form, consider using materials that mimic human curves. Padding with foam or batting can help achieve a more realistic shape.
Test and tweak the proportions as you go. It's essential to remember that the first attempt might not be perfect. You may need to reflect on the fit and adjust layers accordingly.
Don't hesitate to try different techniques for coverage. Darts can be added to create a better shape, while fabric choice influences the overall look.
Keep in mind that achieving a customized fit can be a trial-and-error process. It’s part of learning. Each adjustment brings you closer to an ideal dress form that suits your sewing projects.
Embrace the process. Your dress form will be an invaluable tool in refining your craft.
FAQS
: Look for sturdy fabrics like cotton or muslin. These are breathable and easy to work with.
Use foam or batting for padding. Focus on areas needing more volume or detail for accuracy.
Accurate measurements are crucial for fit. Even a slight deviation can alter the final garment.
Measure bust, waist, and hips. Note shoulder-to-waist and waist-to-hip distances for guidance.
Standing straight changes measurements significantly. Many overlook this, leading to design discrepancies.
Reflect on the fit and make adjustments. Consider this part of the learning process.
Yes, use measurements and padding materials to mimic human curves. It's a hands-on experience.
Yes, many encounter challenges. Expect trial and error; adjustments are necessary for a refined result.
Darts can improve shape accuracy and help achieve a more tailored look.
Fabric choice greatly influences appearance. It’s important to consider while creating your dress form.
Conclusion
Creating a custom dress form can greatly enhance your sewing experience, and understanding how to make a custom dress form is essential for achieving a perfect fit. The process begins with selecting the right materials, ensuring durability and stability. Accurate body measurements are crucial for constructing a dress form that mirrors your unique shape, so take your time during this step.
Once you've gathered your materials and measured your body, follow a step-by-step guide to assemble your form. Covering the dress form with fabric requires specific techniques to ensure a smooth finish. Finally, don't forget to incorporate customization tips that allow you to adjust the shape and size of your dress form, making it a versatile tool for your sewing projects. By following these best practices, you'll end up with a reliable custom dress form tailored to your needs.
